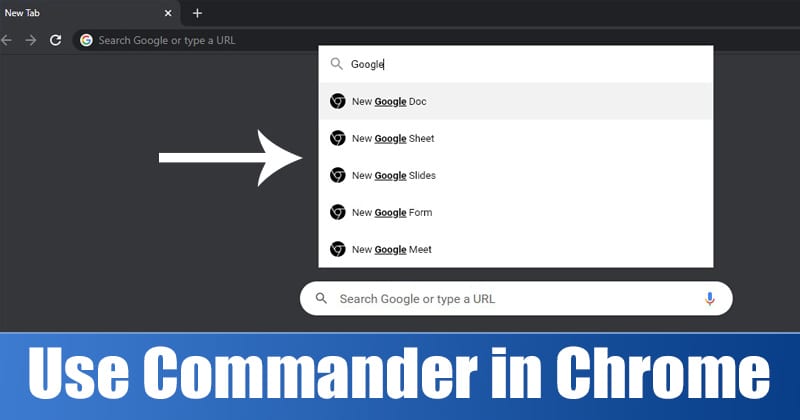
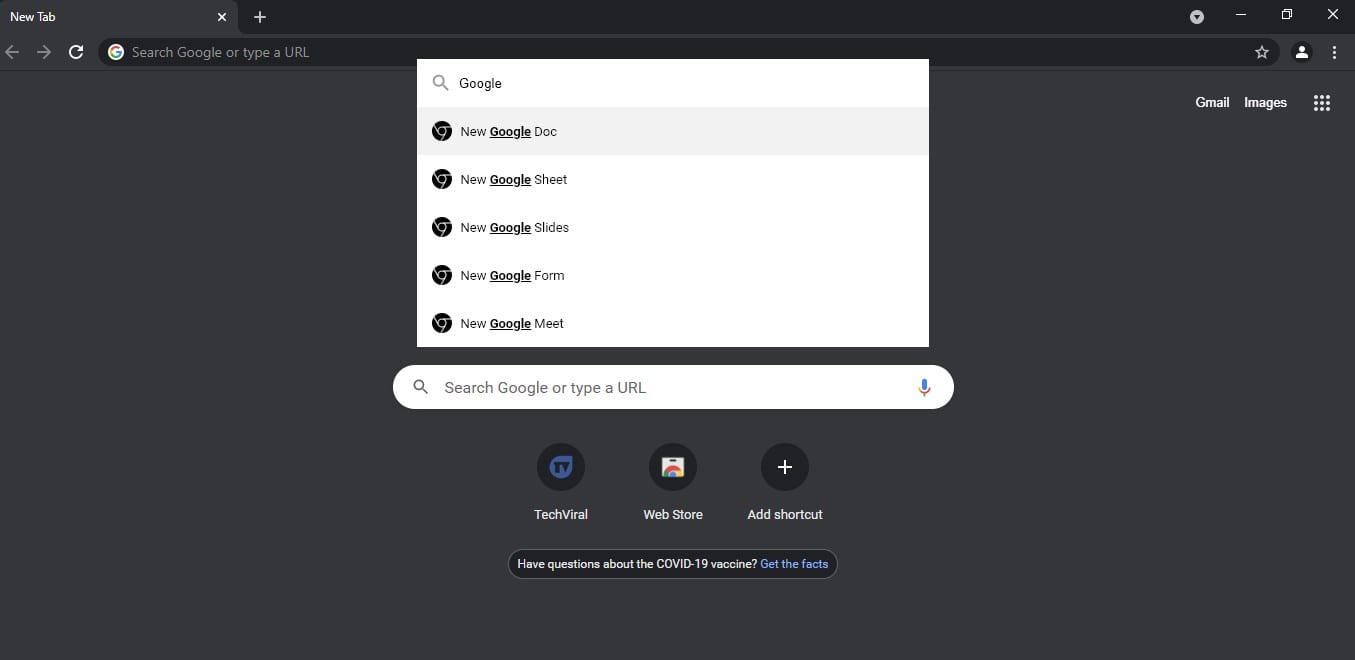
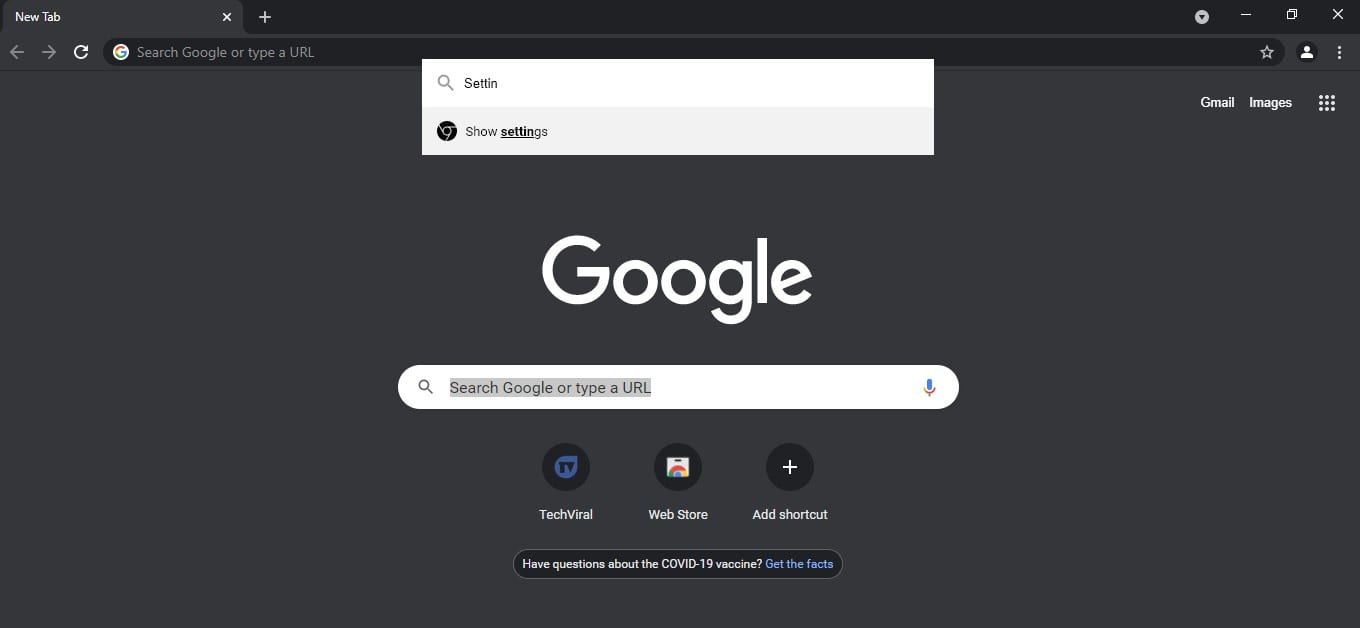
The new Commander feature of Google Chrome is pretty much similar to the Chrome Actions that have been introduced last year. Once enabled, it brings a search interface to Chrome that always appears on top of every webpage you visit. You can use the search interface to search for specific Chrome features. According to Google, the Commander acts as a ‘text interface to common chromium functionality.’ As of now, the new feature is being tested in the latest Canary version of Google Chrome. Also Read: How to Create QR Codes for URLs in Google Chrome
Steps to Enable & Use Commander in Google Chrome Browser
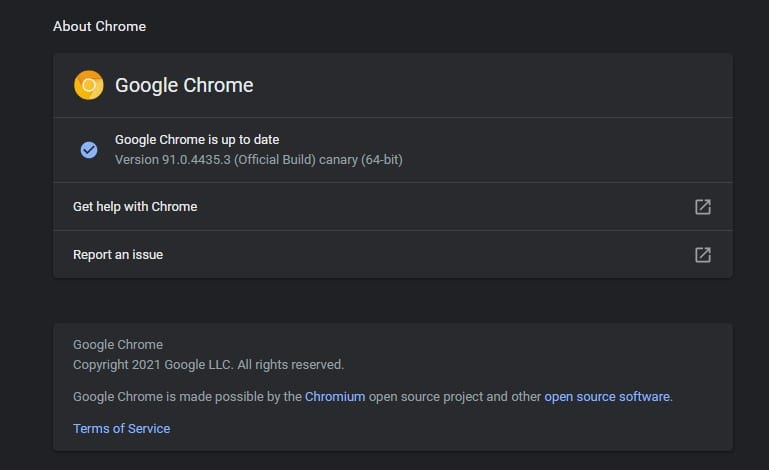
If you are interested in trying out the all-new feature of Google Chrome, continue reading it. This article will share a step-by-step guide on how to enable and use Commander in the Google Chrome browser. Let’s check out. Step 1. First of all, open Google Chrome canary and head to Settings > About Chrome. Wait until the new update installs. If you are not using Chrome Canary, then open this link and download the browser for Windows 10.
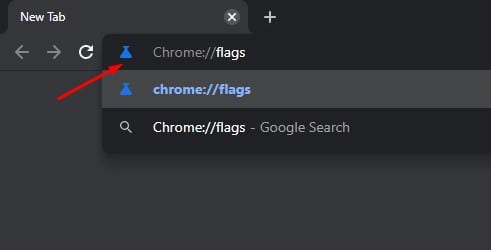
Step 2. On the URL bar, enter ‘Chrome://flags’ and hit the Enter button.
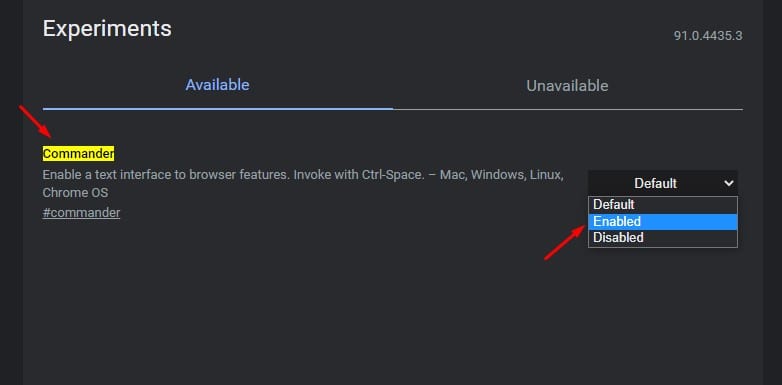
Step 3. This will take you to the Chrome experiments page. Step 4. Search for ‘Commander‘ on the search bar located at the top.
Step 5. Find the Commander flag and choose ‘Enabled‘ from the drop-down list. Once done, click on the Relaunch Now button.
Step 6. After the restart, use the keyboard shortcut ‘Ctrl+Space’ to launch the Commander.
Step 7. You will see a new search box within Chrome. Just type keyboards to view all related commands. You can use commands like Settings, Google Sheet, Meet, Form, Docs, etc. You can access those settings right from the search results.
That’s it! You are done. This is how you can enable and use Commander in Google Chrome web browser. So, this article is all about how to enable and use Commander in the Google Chrome browser. I hope this article helped you! Please share it with your friends also. If you have any doubts related to this, let us know in the comment box below.
Δ
