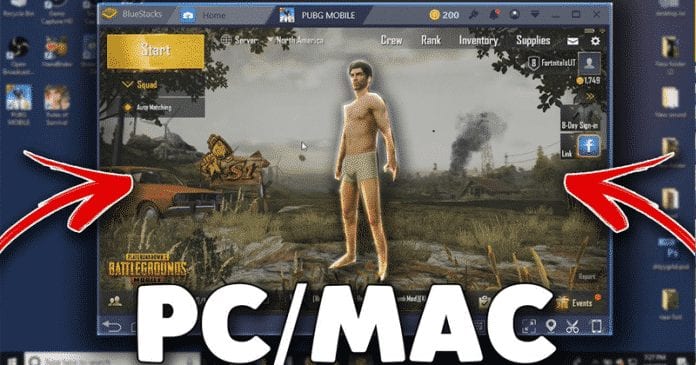
Well, if we take a brief look at the gaming industry, we will find that almost everyone out there is busy playing PUBG Mobile. For those who don’t know, PUBG Mobile is a leading battle royale game that has been heavily played by gamers. Although PUBG Mobile is officially meant to run on mobile operating systems like Android and iOS, some users want to enjoy the addictive battle royale game on the big screen. PUBG Mobile can be easily played on the Windows operating system because there are plenty of emulators available for the platform. Since Android emulators are mostly available for the Windows operating system, MAC users face difficulties while running Android games on Mac. In fact, the official PUBG Mobile emulator – Tencent Gaming Buddy is available only for Windows operating system. Compared to Windows users, Mac users got minimal options when it comes to emulating Android games on desktop. So, if you also a Mac user and searching for methods to run PUBG Mobile on MAC, then you have landed on the right web page.
How To Play PUBG Mobile On MacBook or MAC (Latest Method)
In this article, we are going to share step by step tutorial on how to download & install PUBG Mobile on Mac. So, let’s know how to play PUBG Mobile on Mac 2019
#1 Using Boot Camp To Install Windows On MacBook or MAC:
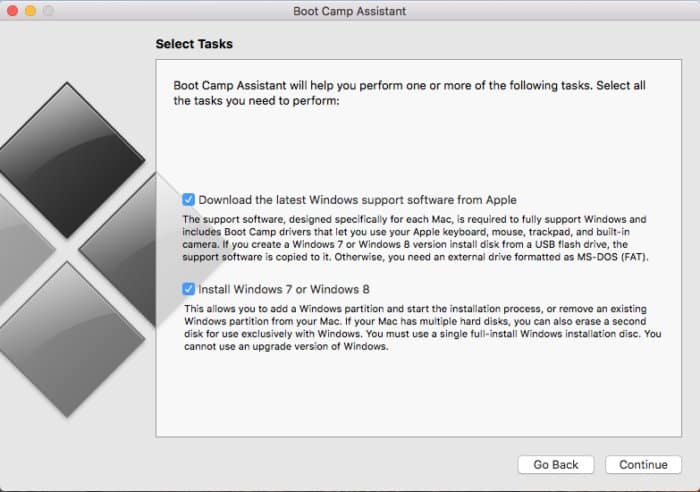
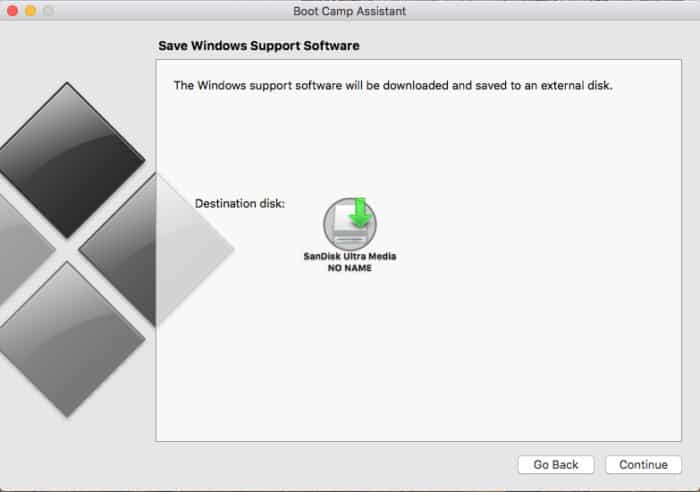
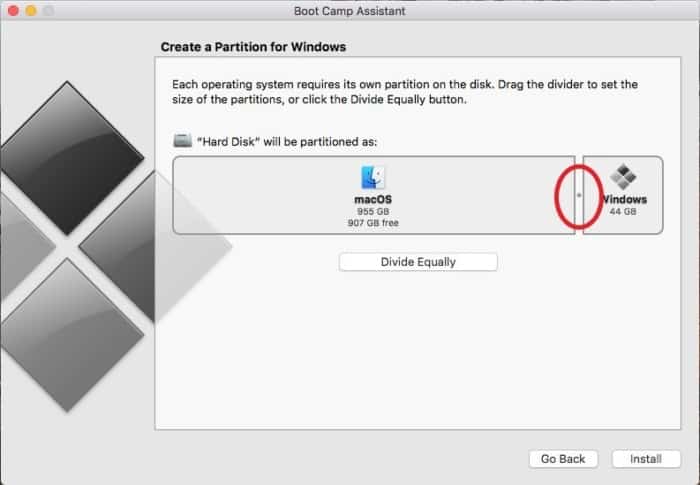
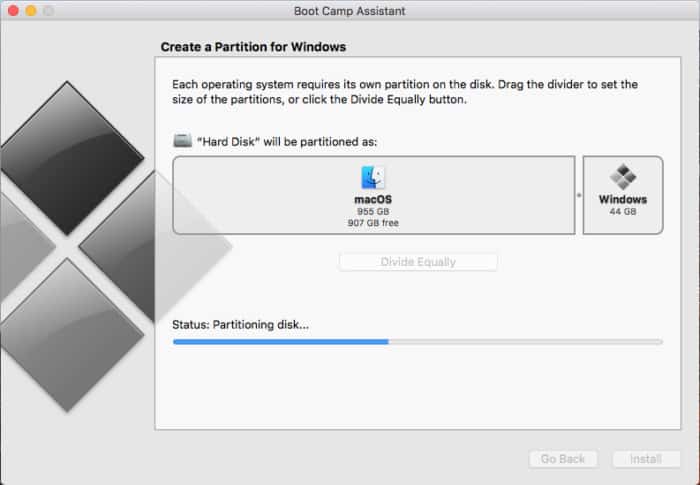
If you want to get the best PUBG Mobile experience, then trust me, you will need Windows. Although there are some of the best Android emulators available for Mac computer, popular ones like Tencent Gaming Buddy, Memu, Nox Player, etc. are only available on Windows. So, to get the best PUBG Mobile experience, you need to install Windows on MAC. There are two main options to install Windows on Mac, you can depend upon the Boot Camp Assistant that comes built-in with every Mac, or you can use virtualization programs like VMWare Fusion, Parallel Desktops. In our opinion, Boot Camp or ‘Dual-Booting’ is the best option to install Windows because it’s pretty straight-forward to use. So, here’s how you can install Windows on MAC by using Boot Camp. Step 1. First of all, head to Microsoft’s website and download the Windows 10 iso file. You can also download the older version like Windows 7 & Windows 8.1 as well. Step 2. Once downloaded, open the Boot Camp Assistant on your Mac. Now, make sure both installation options were checked as seen above. Step 3. In the next step, you will be asked to browse the downloaded Windows ISO file. Next, select the destination USB Drive and click on ‘Continue’ Step 4. Now you will be asked to adjust the size of the partition. Here you need to use the slider control to adjust the size of the two partitions. If you are willing to use only Windows, then make sure to divide the size equally. Step 5. Once done, Boot Camp will shut down your Mac and launch the Windows installer through USB Memory stick. Now follow the on-screen instructions to complete the Windows installation. That’s it, you are done! This is how you can install Windows on MAC to run PUBG Mobile.
How To Run PUBG Mobile on MAC?
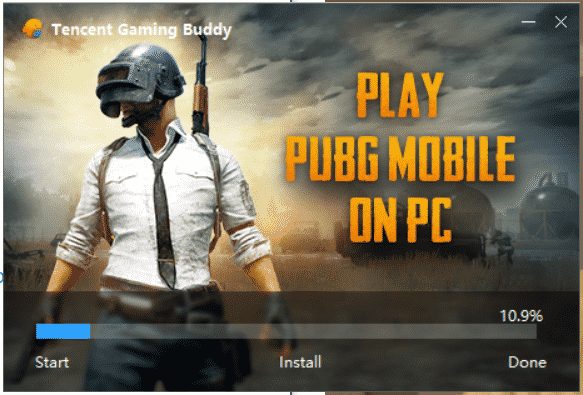
Now that you have installed Windows on MAC by using Boot Camp, you will be able to download Android emulators for Windows. We suggest you to use the Tencent Gaming Buddy to run PUBG Mobile on PC. Here’s how you can download & install Tencent Gaming Buddy on Mac. Step 1. First of all, visit this link and download Tencent Gaming Buddy on your computer. Step 2. Now install Tencent Gaming Buddy on your PC and open the app. Click on ‘Install’ Step 3. Once done, you will see a similar interface. There you need to click on ‘Start’ Step 4. Now Tencent Gaming buddy will automatically download the PUBG Mobile from its servers. It will download approximately 1.6 to 2GB of data. Wait for a few minutes of hours until the download completes. Once done, open the app and enjoy it. That’s it, you are done! This is how you can play PUBG Mobile on Mac through Boot Camp. If you have any other doubt, let us know in the comment box below.
Δ
